This article was last updated on April 16, 2022
Canada: ![]() Oye! Times readers Get FREE $30 to spend on Amazon, Walmart…
Oye! Times readers Get FREE $30 to spend on Amazon, Walmart…
USA: ![]() Oye! Times readers Get FREE $30 to spend on Amazon, Walmart…
Oye! Times readers Get FREE $30 to spend on Amazon, Walmart…

There’s a lot to love this time of year — parties, presents, Bing Crosby. However, there’s one thing we look forward to more than anything: COOKIES. True, these sweets aren’t exactly rare year-round, but there is something special about seasonal goodies. Gingerbread just isn’t gingerbread in July, after all.
So, we sorted through our personal favorites, family recipes, and the good, old classics, and came up with four must-have (must-bake, must-share, must-cancel-dinner-plans-to-stay-home-and-make) Christmas cookie recipes to share with you. Nothing too complicated, but all sure to find you fighting over who gets to lick the spoon (go for the eyes, the dough is so worth it). Check out our step-by-step guide to baking bliss and have yourself a merry little confection. We’re having seven. For breakfast.
Raspberry-Almond Thumbprints
Almost as seasonal as a cinnamon stick, the scent of sweet almond is one of the best things your kitchen can make. Then there’s the taste. No offense to almonds, but almond paste is hard to beat (and hard to stop eating once the package is open). This cookie is an all-around hit because of its nutty, not-too-sweet base, combined with a tart and fruity center.

Ingredients:
2 ½ cups flour
¾ cup sugar
½ cup almond paste
½ tsp baking powder
2 sticks unsalted butter
1 egg yolk
2 tsp almond extract
½ raspberry preserves
Preheat oven to 350. Combine flour, sugar, and baking powder.

Using your fingers, crumble almond paste into the flour mixture.
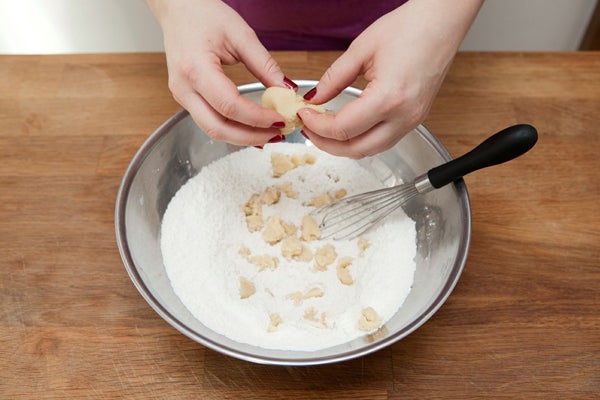
Melt butter and pour into dough. This will help the almond paste break apart more.
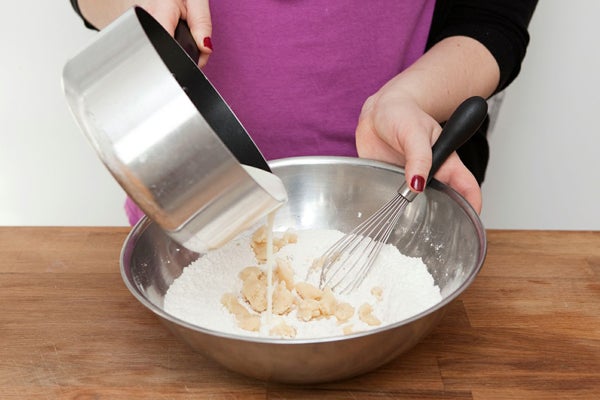
Whisk until well combined.

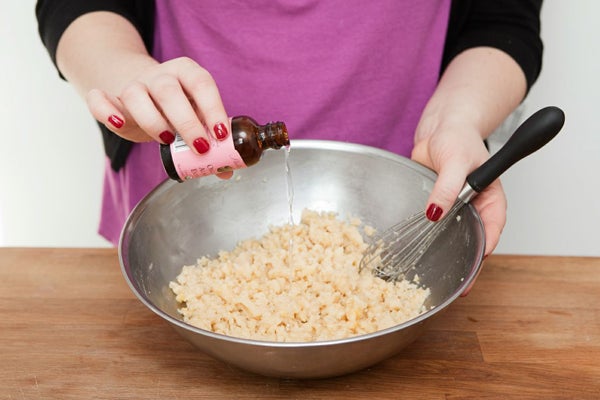
Add extract and egg yolk, and mix in.


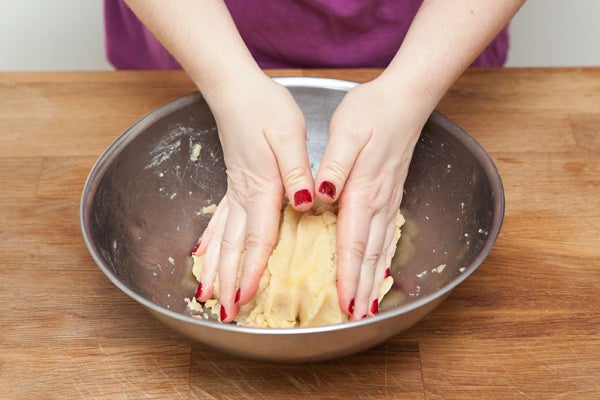
Use your hands to form the dough into one piece.
Pull off large chunks of dough and form into balls (a little bigger than a golf ball), and lay onto a lined or greased baking sheet.

Using a teaspoon, press indentations into the center of each ball. Note: The edges will crack, but if they crack too much, bake the cookies for 10 minutes, then press the indentations in.

Decant preserves into a small plastic bag, and snip one corner off.
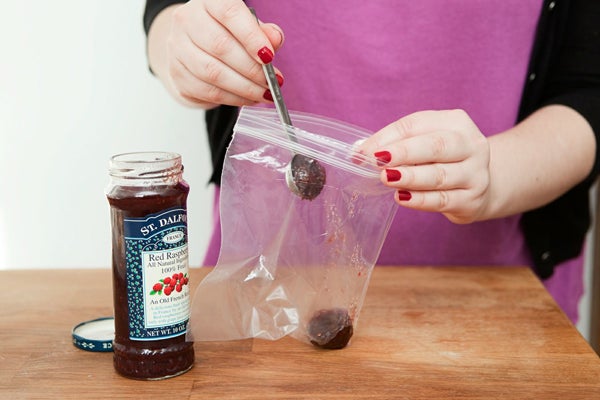

Squeeze jam into the middle of each cookie.

Bake for 10-15 minutes (less if you prebaked), removing when the bottom edges are slightly browned. These won’t get much darker.
But they will get delicious-er.

Almond Meringues
Meringues might seem complicated, but they’re actually very easy — all you need is time and an electric mixer. The chopped almonds in the middle add a different type of crunch to the crisp egg whites, and anyone who tries them will be surprised by this unusual textural addition! Plus, cool the cookies in the refrigerator and hold one close to your ear to hear them crackling away (it’s the winter version of the seashell trick!).
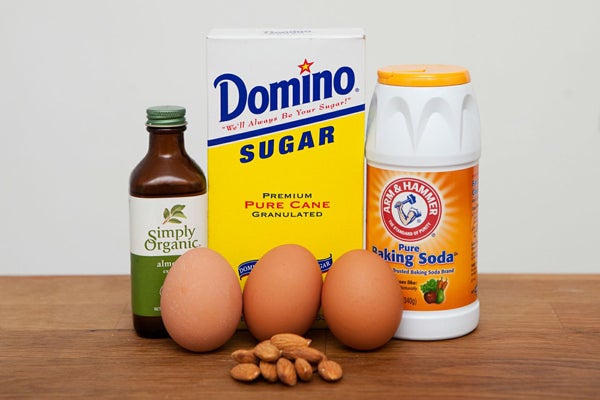
Ingredients:
3 large egg whites
1 tsp baking soda
3/4 cup sugar (many recipes suggest caster sugar; we got by just fine with granulated)
1/2 teaspoon almond extract
1/3 cup chopped almonds
Parchment paper
Preheat oven to 200 degrees. These cookies take a while to cook, so be sure you have at least three hours at home to supervise the baking.
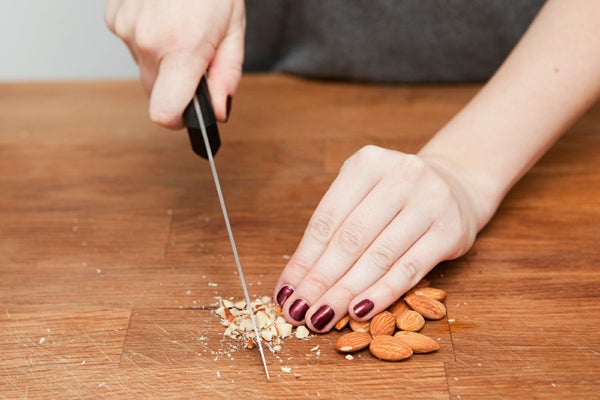
Chop up almonds into small pieces and set aside.
Separate egg whites and combine with sugar and baking soda.

Beat mixture using an electric mixer until it just holds soft peaks.

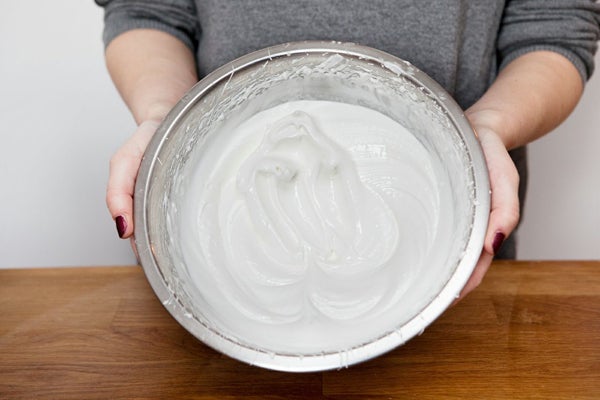
Add almond extract.
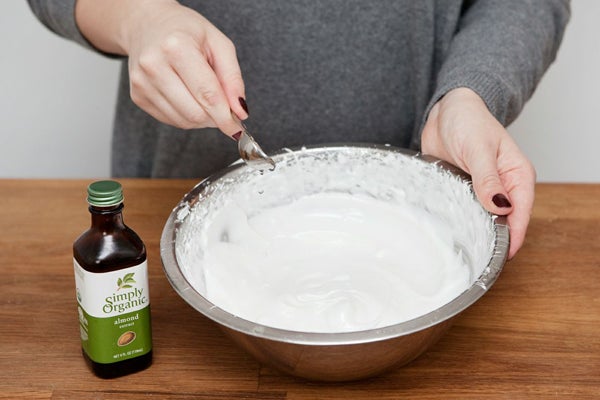
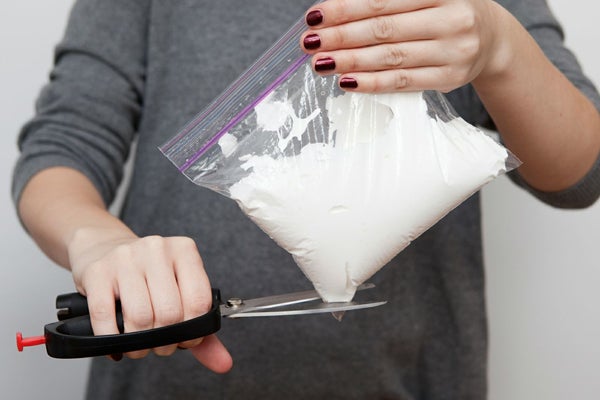
Transfer some of the mixture into a bag and snip off the corner.
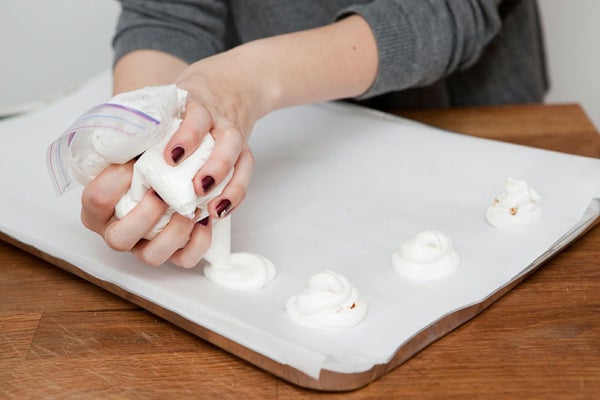
Gently squeeze a first layer of meringue onto the parchment paper, applying light downward pressure to keep the cookie relatively flat.
Sprinkle chopped almonds over the first layer.

Add a second layer of meringue over the almonds. This time, if you want a taller, more sculptured final product, you can allow it to pile up by not applying downward pressure as you squeeze.

Bake meringues for at least 1 1/2 hours. Feel them periodically — once they can be removed from the parchment paper with ease, they are done. If you’re uncertain, remove one, allow it to cool and harden, and try it. A little gooey spot in the middle never hurt anyone; in fact, it’s delicious!
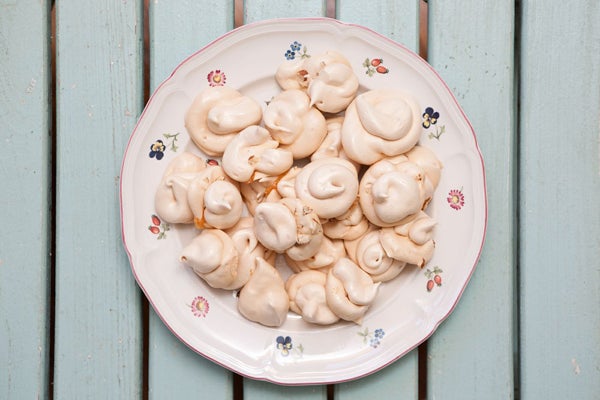
Nail polish: Through The Fire by Deborah Lippmann.
Chocolate-Peppermint Sugar Cookies
If there’s one thing we love in this world, it’s classic sugar cookies. One thing we hate? Waiting for them. Traditional recipes dictate that you wait four (a.k.a. a zillion) hours for the dough to chill in the fridge. Not this one. We took it a step further by dipping them in chocolate and adding a little candy-cane crunch. Perhaps it’s a sin to mess with a classic, but we didn’t think you’d mind.

Ingredients:
2 ¾ cups flour
1 tsp baking soda
1 tsp baking powder
2 sticks unsalted butter, melted or softened
1 ½ cups sugar
1 egg
1 tbsp vanilla extract
1 cup chocolate chips of your choice
½ cup crushed candy canes
Preheat oven to 375. Combine all dry ingredients and whisk well.

Add butter…
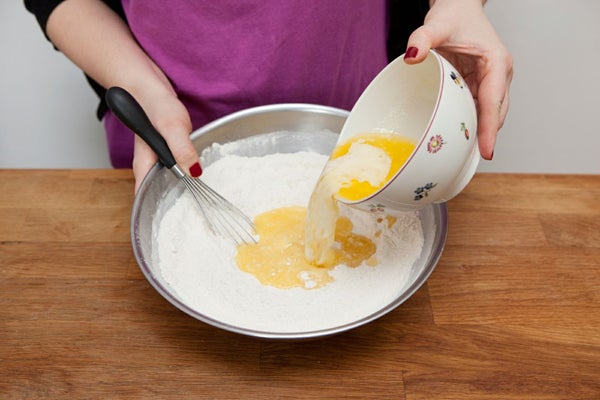
….egg…
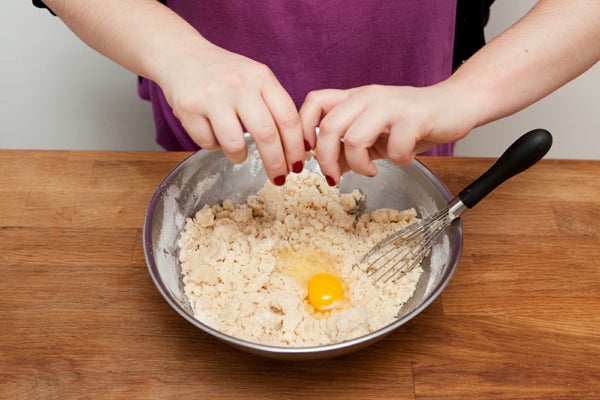
…and vanilla.
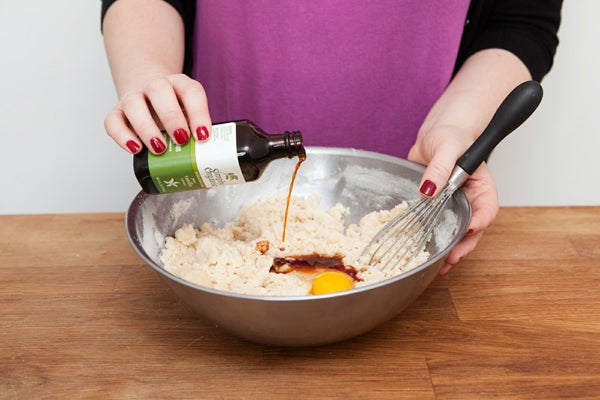
Stir well, and if necessary, use your hands to form a large dough ball.
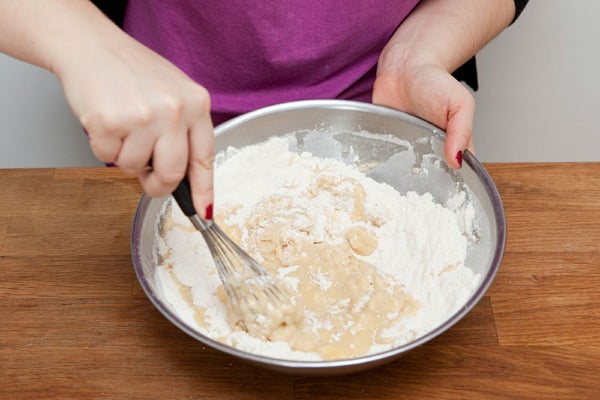
Form cookies into balls, and line up on a baking sheet.

Bake for eight-10 minutes, until the surface just begins to brown and the top cracks a bit.

Remove from the oven and let the cookies cool entirely.
Using the back of a wooden spoon (a soup can works great, too!), crush candy canes in a small plastic bag, and pour minty bits onto a small plate.
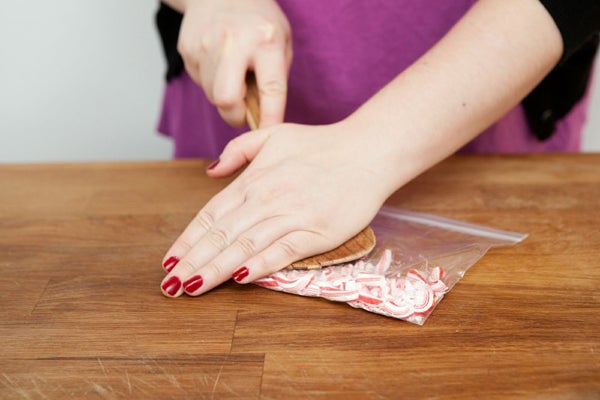
Melt chocolate and, tilting at an angle to create depth, dip in a cookie half way.

Let excess chocolate drip off, and quickly press into the candy cane bits. Lay face up on a plate to cool completely.

Commence to NOM.

Pfeffernusse
We got this recipe from one of our editor’s mother, who says she may or may not have pulled it from Glamourin the ’70s. Regardless of origin, this is clearly a cookie that stands the test of time — both long- and short-term! This recipe makes a gigantic batch, and the dough can be chilled or frozen for later use. The cookies themselves, once baked, will also last forever in your refrigerator, and though they harden over time, that’s actually a good thing (especially when dipped in coffee)!
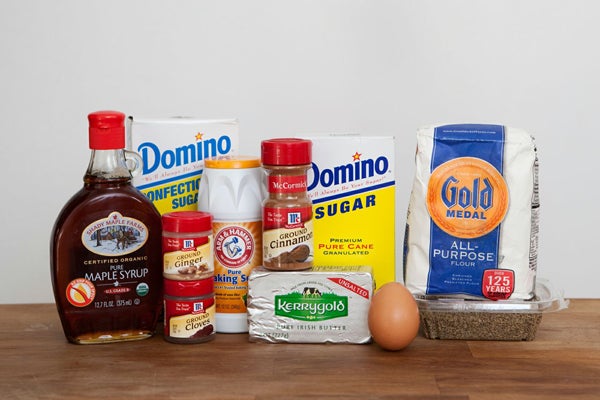
Ingredients:
3 1/2 cups flour
2 tsp baking soda
1 1/2 cups granulated sugar
1 cup confectioner’s (powdered) sugar
1 cup butter at room temperature
1 large egg
1 tsp cinnamon
1 tsp ground cloves
1 tsp ground ginger
1 tsp anise seeds or extract
2 tbs maple or brown rice syrup
Preheat oven to 375 degrees.
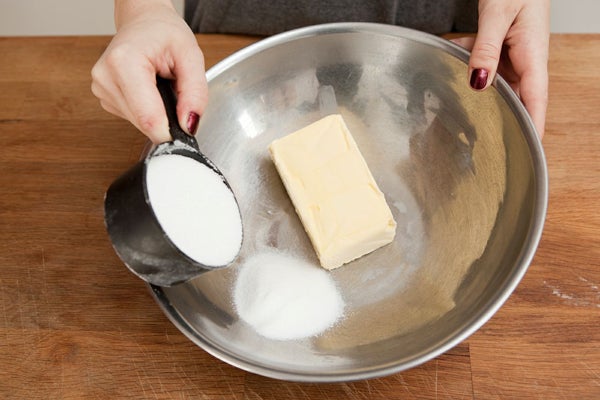
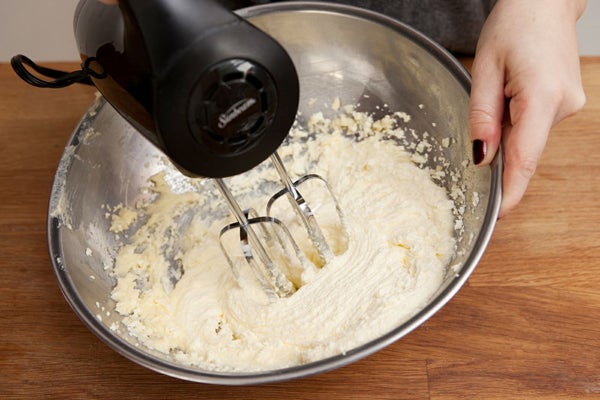
Mix flour and baking soda and set aside. In a large bowl, mix butter and sugar until light and fluffy. This can be done without an electric mixer, but it’s a lot harder (though a great arm workout).
Beat in egg, then all the spices, the anise seeds, and the syrup.
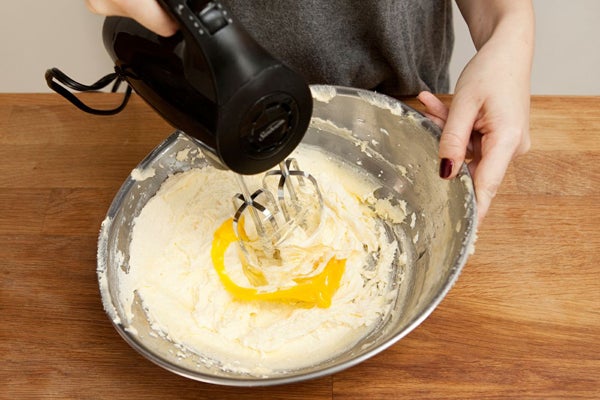
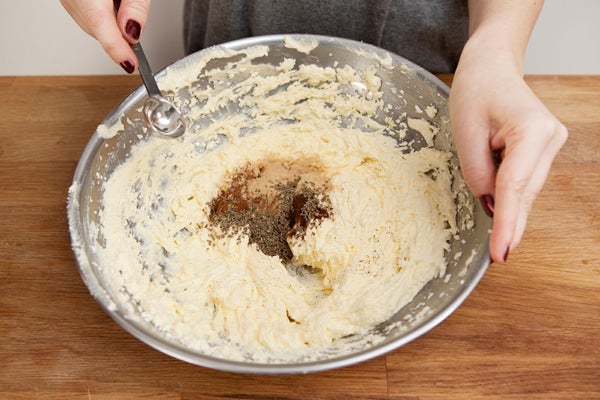

Stir in the flour in parts, mixing with the electric mixer or with a fork, eventually forming into a ball of dough with your hands. If, after adding all the flour, the mixture is too dry to form a solid ball, add a splash of hot water.

Wrap the dough ball and refrigerate for at least one hour. If you plan to save some of the dough for use in a later batch, this is the time to divide it.

Remove the dough and divide into eight balls (or four, if you’re using half of the original quantity). Carefully shape each ball into a long roll. Don’t get discouraged if it crumbles — this is a fairly dry dough, just push it back together with your fingers as you roll it out to prevent cracking.


Slice the roll into small pieces and form each piece into a ball.

Place about one inch apart on parchment paper. Bake for seven-10 minutes, until cookies are golden brown and come up from paper easily. Test with your finger to make sure cookies don’t deform under pressure before removing from the oven.
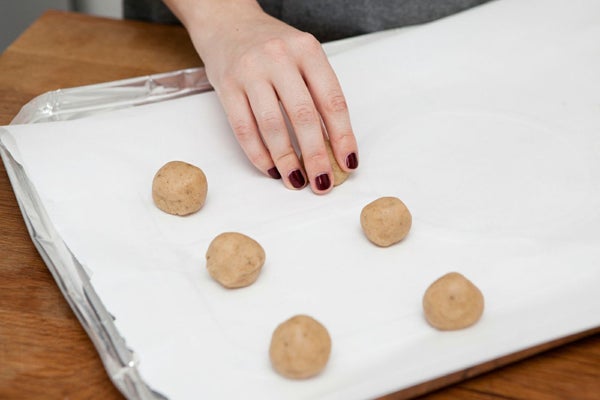
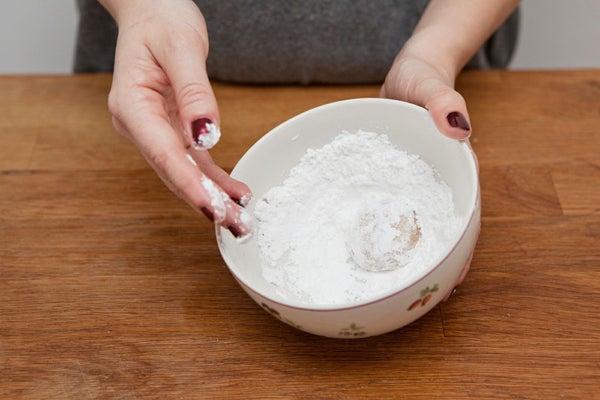
Remove cookies from oven and let cool slightly. While still warm, roll the cookies in a bowl of powdered sugar.
Eat your heart out…if you manage to go through a whole batch by yourself in under three weeks, then you are a true champion.

Photographed by Amelia Alpaugh
Click HERE to read more from Refinery29.

Be the first to comment